Oracle12cをCentOS6.6にインストールします。
構成情報
OS:CentoOS6.6 最小構成
予めネットワーク設定を行い、yum updateにて各ソフトウェアを最新にします。
インストール(環境)
hostsの設定
Oracle12c起動時にホスト名の名前解決ができないと警告が出てしまうのでhostsにて名前解決をします。
[root@oracle ~]# hostname
oracle
↑ホスト名を確認

[root@oracle ~]# vi /etc/hosts
127.0.0.1 oracle localhost localhost.localdomain localhost4 localhost4.localdomain4
::1 oracle localhost localhost.localdomain localhost6 localhost6.localdomain6
↑ホスト名をhostsに追記
X Windowのインストール
OracleのインストールがGUIで行うのがスタンダード(?)みたいなのでX windowを入れます。
SSHで繋いでる場合だとこの時点で厳しいですね。
[root@oracle ~]# yum groupinstall "X Window System" "Desktop" "General Purpose Desktop"2015年6月7日時点で511パッケージもインストールします。気長に待ちましょう。
X Windowの設定
このままstartxで起動する前にhaldaemonとmessagebusを起動します。
この二つを起動しないままX Windowを立ち上げてしまうとマウス及びキーボードの操作が受けてつけてくれない状況になります。
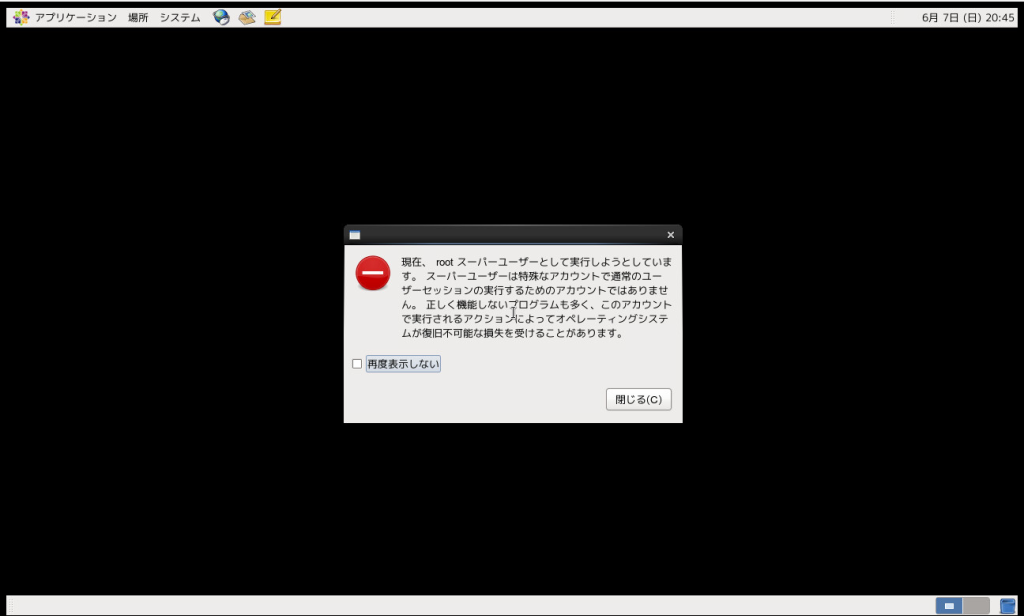
↑の画面でなんもできず…
[root@oracle ~]# chkconfig --list haldaemon
haldaemon 0:off 1:off 2:off 3:on 4:on 5:on 6:off
# ↑自動起動(3~5の部分)がONになっていることを確認します。
[root@oracle ~]# chkconfig --list messagebus
messagebus 0:off 1:off 2:on 3:on 4:on 5:on 6:off
# ↑自動起動(3~5の部分)がONになっていることを確認します。
[root@oracle ~]# service messagebus status
messagebus は停止しています
[root@oracle ~]# service messagebus start
システムロガーを起動中: [ OK ]
[root@oracle ~]# service haldaemon status
hald は停止しています
[root@oracle ~]# service haldaemon start
HAL デーモンを起動中: [ OK ]
# ↑messagebugs及びhaldaemonが起動していないことを確認し、サービスコマンドにて起動します。
# ※messagebugsが起動していない場合、haldaemonは起動できない為messagebugs⇒haldaemonの順に立ち上げます。
あとはstartxコマンドでX Windowsを立ち上げます。
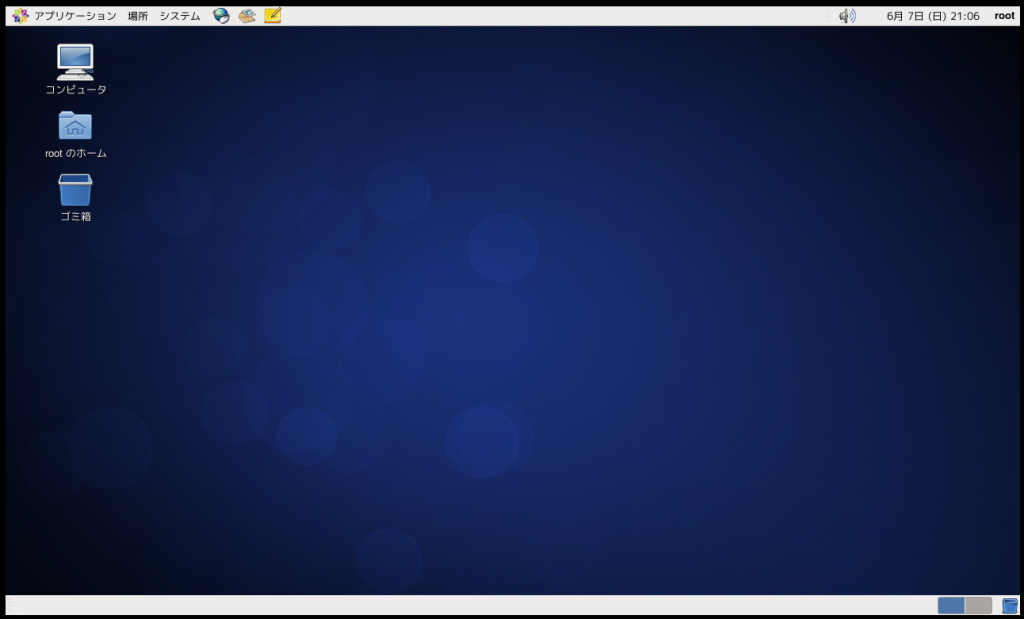
↑マウス及びキーボードの操作ができたらひとまずログオフし、コンソールに戻ります。
上記画面では日本語ですが、再ログインや別ユーザになると英語になる場合があります。
Oracleのインストール画面も英語表記になってしまうので、LANG=ja_JP.UTF-8を指定して日本語表示にします。
[root@oracle ~]# vi /usr/bin/startx
#!/bin/sh
# $Xorg: startx.cpp,v 1.3 2000/08/17 19:54:29 cpqbld Exp $
・
・
・
#
# $XFree86: xc/programs/xinit/startx.cpp,v 3.16tsi Exp $
LANG=ja_JP.UTF-8
#↑この辺にLANG=ja_JP.UTF-8を追記
unset XDG_SESSION_COOKIE
unset DBUS_SESSION_BUS_ADDRESS
unset SESSION_MANAGER
・
・
・
インストール(Oracle)
必要なパッケージのインストール
Oracleで必要なパッケージをインストールします。
yum install gcc gcc-c++ compat-libstdc++-33 libaio-devel ksh compat-libcap1 sysstatユーザの追加
rootでOracleをインストールすることができない為新しくユーザを作成し、そこにOracleを入れるようにします。
今回はOracleユーザを追加します。(gid=25、uid=25で作成しています。)
このユーザでXWindowを起動するためパスワードを設定します。
[root@Oracle ~]# groupadd -g 25 oracle
[root@Oracle ~]# useradd -u 25 -g oracle -s /bin/bash oracle
[root@oracle ~]# passwd oracle
ユーザー oracle のパスワードを変更。
新しいパスワード:
新しいパスワードを再入力してください:
passwd: 全ての認証トークンが正しく更新できました。
Oracleインストールディスクダウンロード&転送
こちらより入手できます。
※ダウンロードにはOracleに会員登録している必要があります。
2ファイルで合計2.5GBあります。
ダウンロードしたファイルをoracleユーザで起動できるようにOracleユーザディレクトリ直下に置きます。
インストールデータの解凍
予めダウンロードしたOracleインストールデータを解凍します。
最小構成でCentOSをインストールした場合、unzipが入っていませんのでyumよりインストールします。
[root@oracle ~]# yum install unziporacleユーザに変更⇒zipを解凍します。
[root@oracle ~]# su - oracle

[oracle@oracle ~]$ pwd
/home/oracle
[oracle@oracle ~]$ ll
合計 2625088
-rw-r--r--. 1 oracle oracle 1673544724 6月 7 00:17 2015 linuxamd64_12102_database_1of2.zip
-rw-r--r--. 1 oracle oracle 1014530602 6月 7 00:12 2015 linuxamd64_12102_database_2of2.zip
[oracle@oracle ~]$ unzip linuxamd64_12102_database_1of2.zip
[oracle@oracle ~]$ unzip linuxamd64_12102_database_2of2.zip
あとはXWindow上での操作ですが、このままstartxするとエラーが発生します。
[oracle@oracle ~]$ startx
xauth: creating new authority file /home/oracle/.serverauth.20362
xauth: creating new authority file /home/oracle/.Xauthority
xauth: creating new authority file /home/oracle/.Xauthority
(EE)
Fatal server error:
(EE) PAM authentication failed, cannot start X server.
Perhaps you do not have console ownership?
(EE)
(EE)
Please consult the CentOS support
at https://www.redhat.com/apps/support/
for help.
(EE)
giving up.
xinit: Connection refused (errno 111): unable to connect to X server
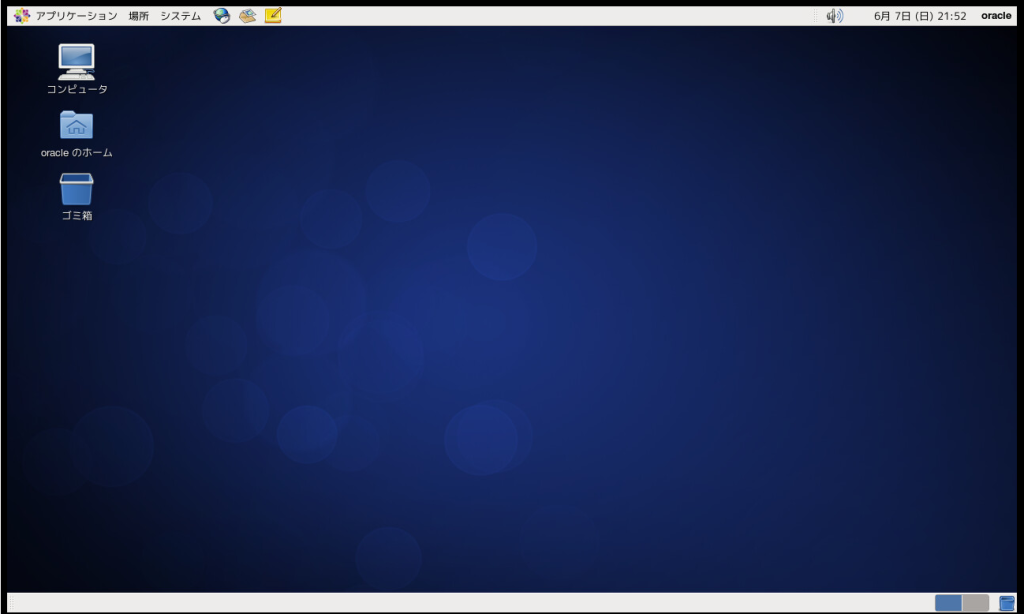
xinit: No such process (errno 3): Server error.rootでログイン⇒suでoracleに変更がダメみたいなので一度ログアウトし、Oracleでログインします。
Oracleインストール
インストールデータの起動&インストール
Oracleでログインし、starxで起動します。
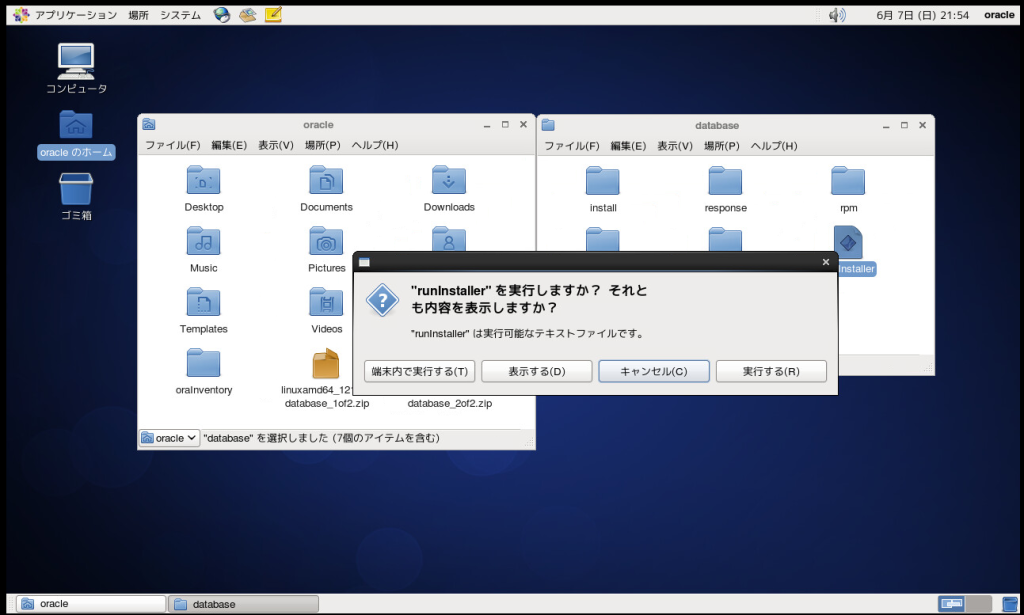
oracleのホーム⇒databaseと選択し、runInstallerを起動します。
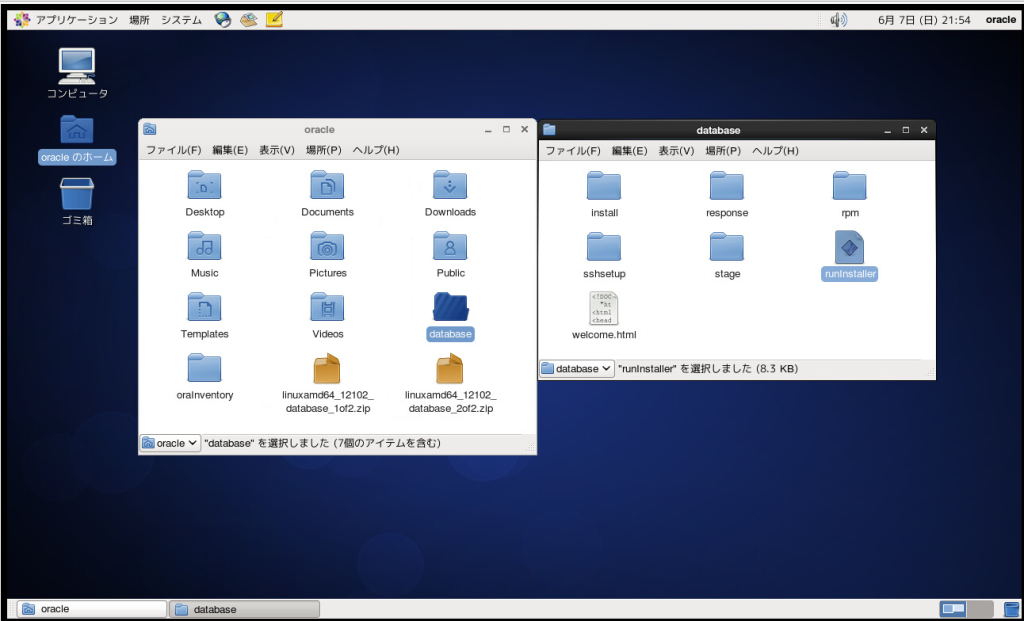
ダイアログが表示されますので、【実行する】を選択します。
インストール画面が立ち上がります。
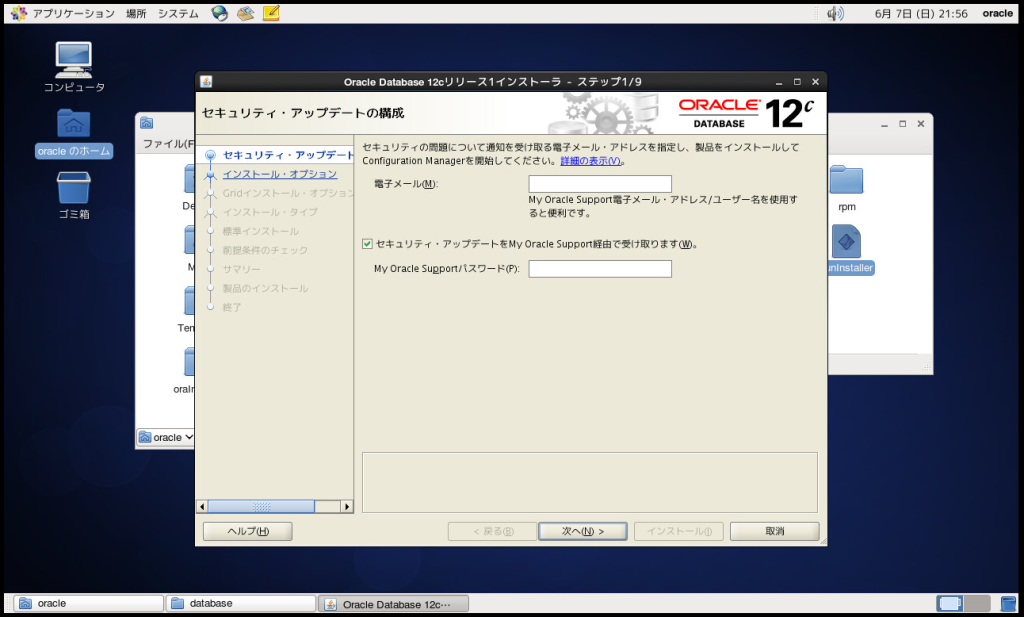
今回は【セキュリティ・アップデートをMy Oracle Support経由で受け取ります(W)】のチェックをオフにし、そのまま次へいきます。
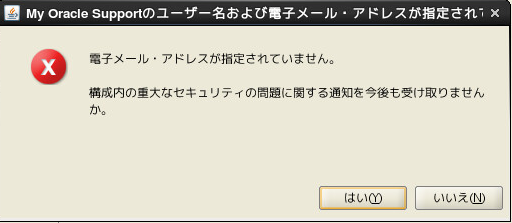
はいを選択
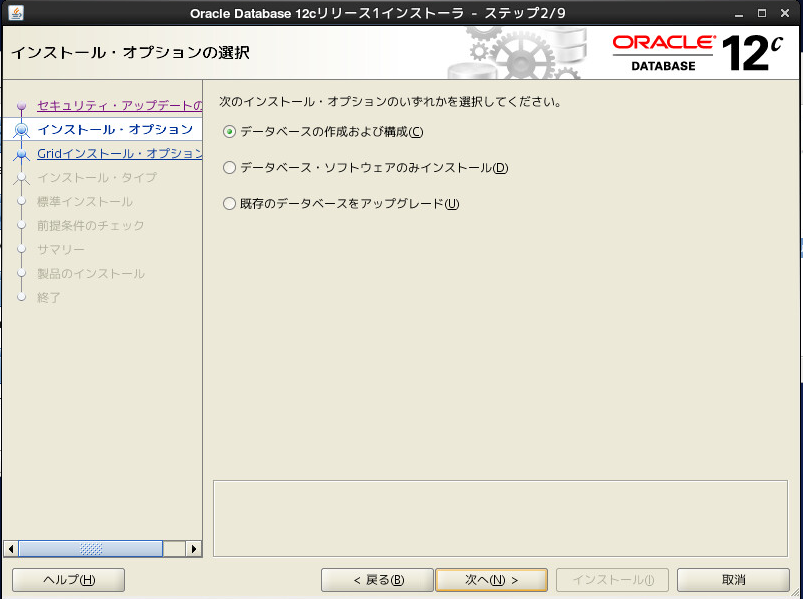
【データベースの作成および構成】を選択し次へ
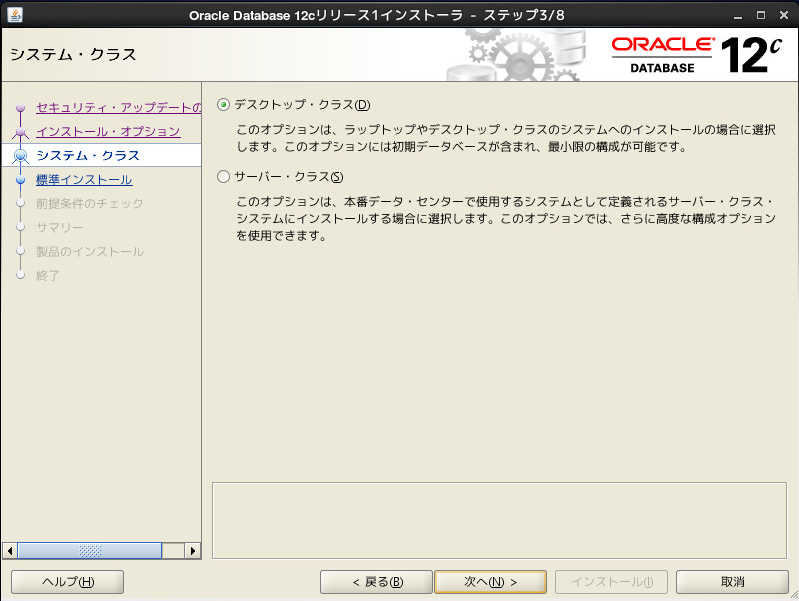
開発用の環境構築に使用するため【デスクトップ・クラス】を選択。
企業または本番用にはサーバ・クラスを選択するみたいです。
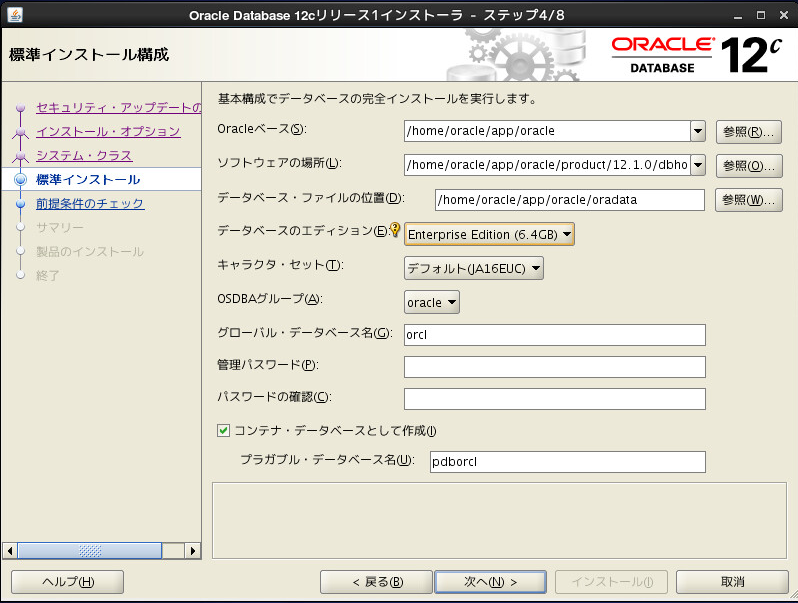
設定していきます。
プラガブル・データベース名はユーザ作成等に必要になるみたいです。(Oracle12cからの仕様?)
ユーザの作成についてはこちら
※文字エンコードはデフォルトでEUCです(日本語表示の場合)。UTF-8等に変更したい場合はここで変更します。
特に問題がなければ次へ
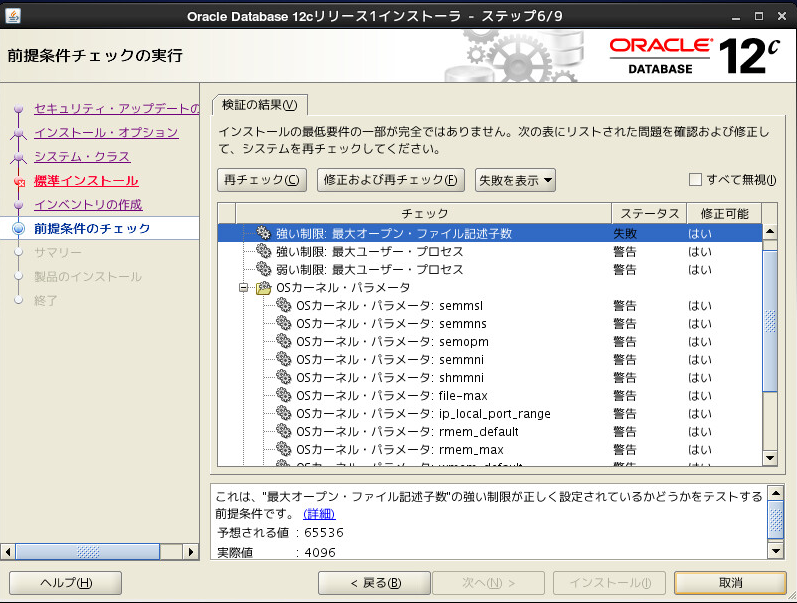
前提条件のチェックがされ、色々と警告及び失敗が出てきます。
【修正及び再チェック】をクリックします。
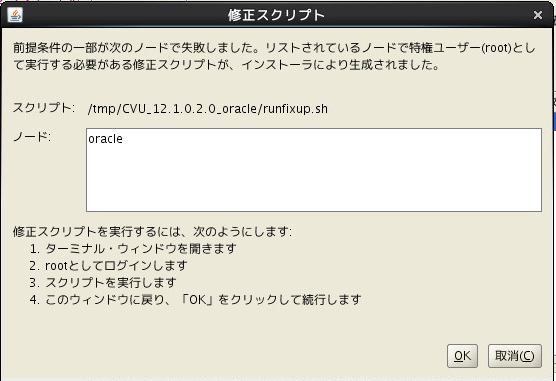
言われた通りにrootで上記のスクリプトを実行します。
[root@oracle ~]# /tmp/CVU_12.1.0.2.0_oracle/runfixup.sh
All Fix-up operations were completed successfully.
実行したら【OK】をクリック
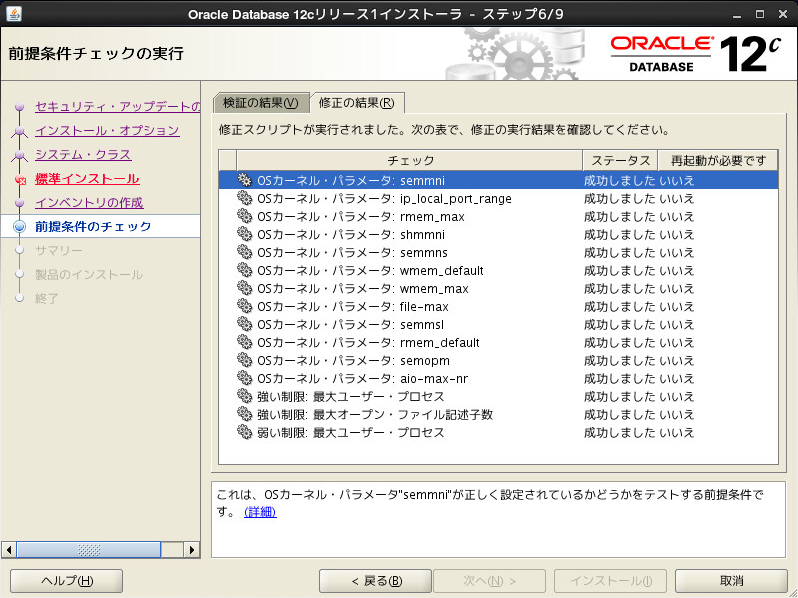
再度チェックが走り、問題なければそのまま【次へ】に遷移できますが、警告が1つ以上存在する場合は【次へ】が押下できません。
その場合、【検証の結果】のタブをクリックします。
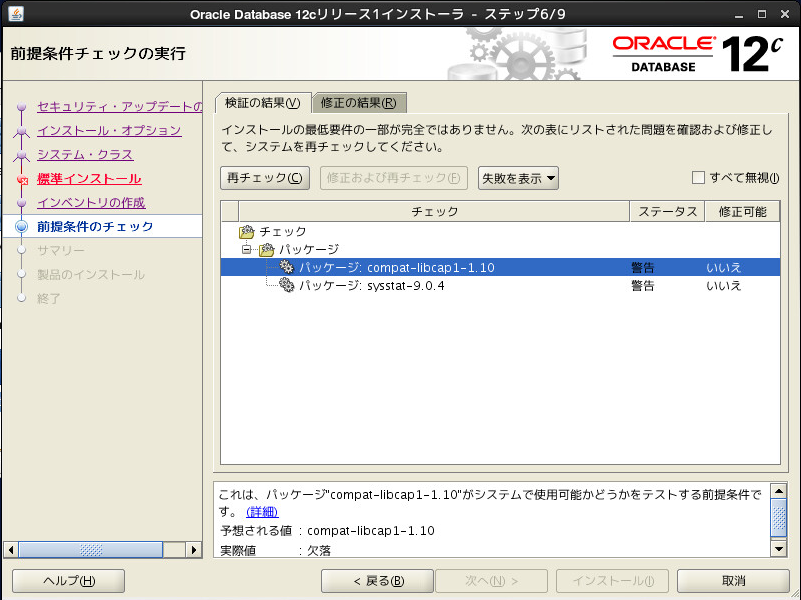
パッケージが足らない場合、yum等からインストールします。
要件に満たしている場合はそのままサマリへ遷移します。
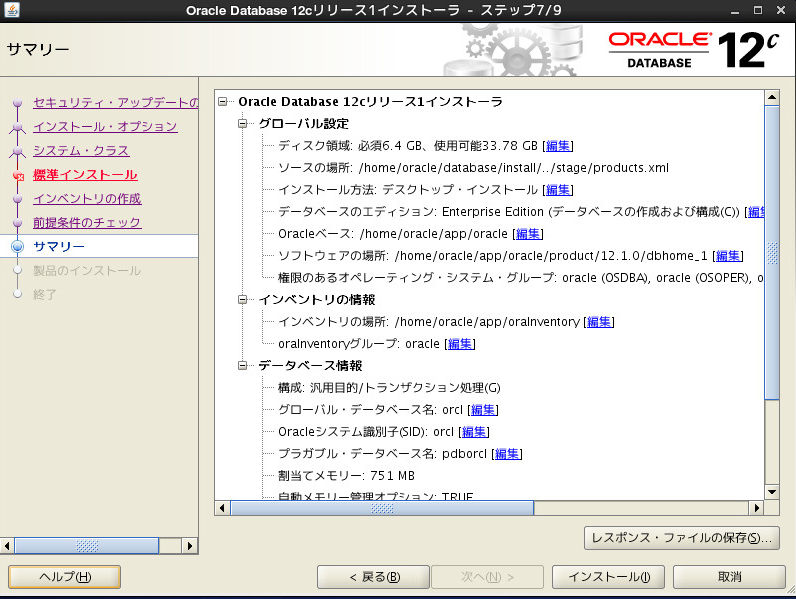
問題なければ【インストール】
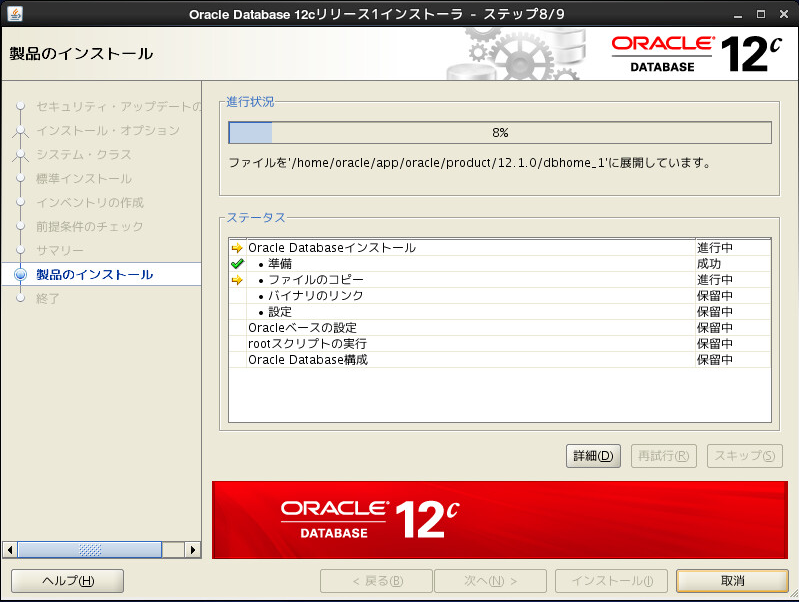
インストール中…
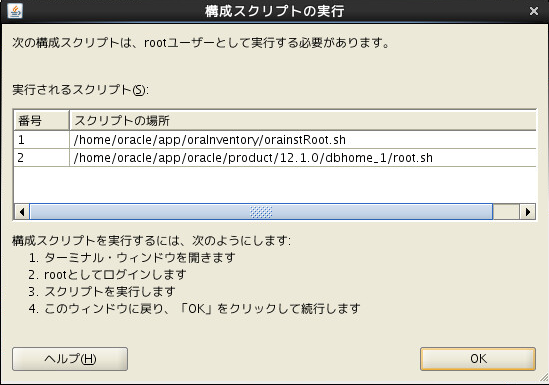
インストール途中で出てきます。
上記のとおりrootにて実行します。
[root@oracle ~]# /home/oracle/app/oraInventory/orainstRoot.sh
権限を変更中 /home/oracle/app/oraInventory.
グループの読取り/書込み権限を追加中。
全ユーザーの読取り/書込み/実行権限を削除中。

グループ名の変更 /home/oracle/app/oraInventory 宛先 oracle.
スクリプトの実行が完了しました。
[root@oracle ~]# /home/oracle/app/oracle/product/12.1.0/dbhome_1/root.sh
Performing root user operation.

The following environment variables are set as:
ORACLE_OWNER= oracle
ORACLE_HOME= /home/oracle/app/oracle/product/12.1.0/dbhome_1

Enter the full pathname of the local bin directory: [/usr/local/bin]:
Copying dbhome to /usr/local/bin ...
Copying oraenv to /usr/local/bin ...
Copying coraenv to /usr/local/bin ...

Creating /etc/oratab file...
Entries will be added to the /etc/oratab file as needed by
Database Configuration Assistant when a database is created
Finished running generic part of root script.
Now product-specific root actions will be performed.
実行後、OKを押し、インストール再開します。
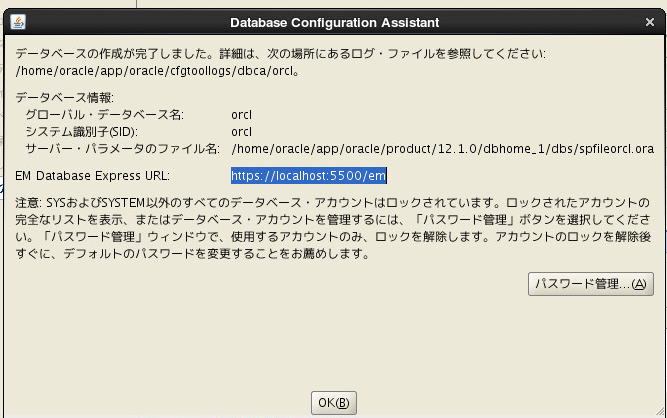
データベースの作成が完了です。
パスワード管理にてパスワードの変更・ロックの解除ができるみたいですが、特に問題はないためこのままOKを押します。

これでOracle12cのインストールが終わりました!
Oracle12cは色々やり方がOracle11gと違うみたいなので覚えていかないといけませんね。