VMware社の仮想化OS(ハイパーバイザー)であるvSphereをインストールしました。
有償版では個人だと手が出せないのと無償版でも十分に使うことができるため無償版(ESXi)を選択しました。
システム要件(ESXi)
仮想化OSということもあり、最低スペックは高めです(特にメモリ)。
- CPU
- 64 ビットのx86
- 2コア以上
- 命令:LAHF、SAH
- NX/XDビットを有効
- メモリ
- 4GBの物理RAM (8GB以上推奨)
- NIC
- 1つ以上のギガビットまたは10GBイーサネットコントローラ
- ストレージ
- 最低1GB(ローカルディスクから起動する場合は5.2GB)
CPUは最近のものなら特に問題ないと思います。
ゲストで64bitOSを立ち上げる場合Intel VT-xまたはAMD RVIを有効にする必要があります。
メモリについては最低4GBと高めです。
一般的な本番環境で仮想マシンを実行する場合は最低8GB以上必要だそうです。
NIC(LANカード)は5.5からRealtec(通称カニ)製品のNICはサポート外になっています。
Realtec製品を使う場合はインストール後に個人でドライバを挿入するか、ESXi5.1に落とすかになります。
Intel製品のNICだと安いもので3000円くらいで売られているので、それを購入したほうが早いです。
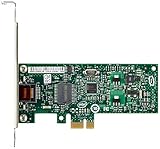
Gigabit CT Desktop AdapterはESXi5.5に対応しています。
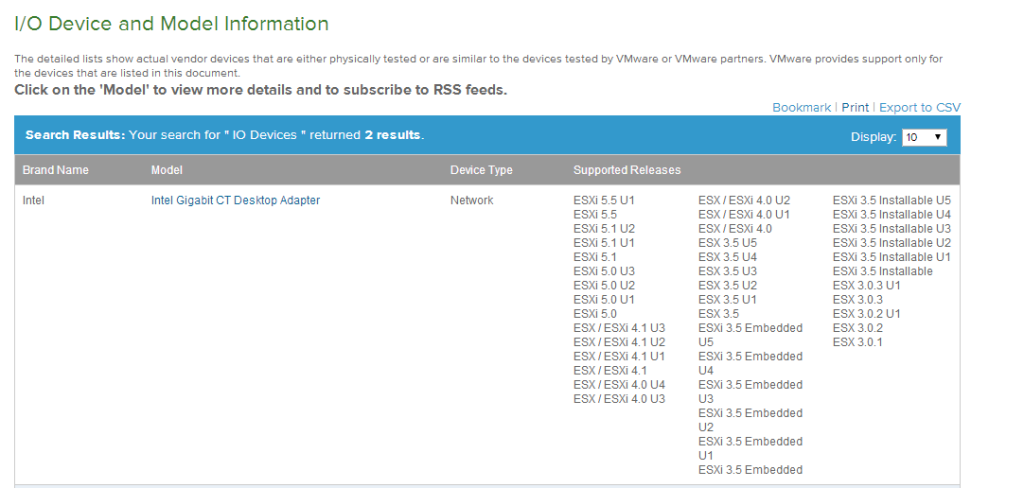
自分のNICはサポート対象かどうか確認したい場合は
ここで調べたらサポートしているかどうか判断できると思います。
ダウンロード&インストール
ESXiとvSphere Clientのダウンロード
こちらからVMwareにアクセスします。
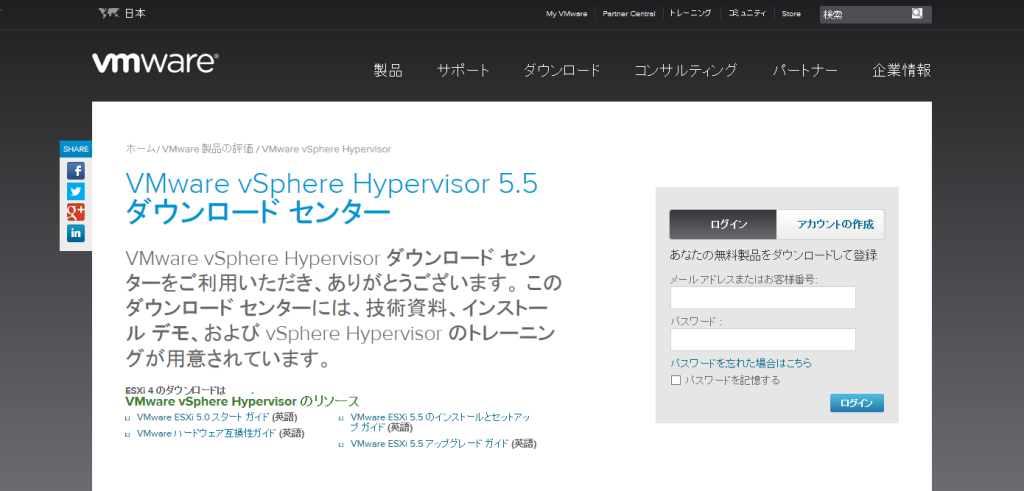
ユーザー登録しないとダウンロードできないため、登録していない方はアカウントの作成より新規作成してください。
ログインしたら「ライセンスとダウンロード」タブを選択
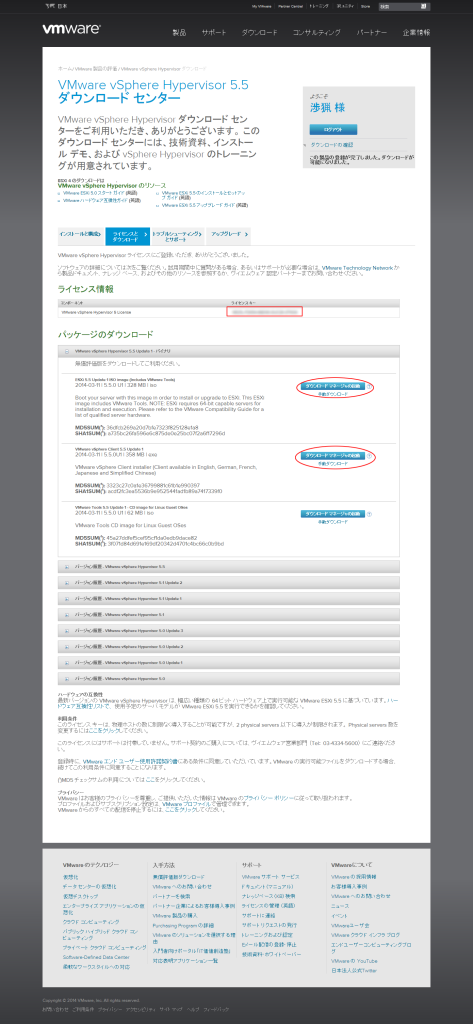
ESXi 5.5 Update 1 ISO image (Includes VMware Tools)とVMware vSphere Client 5.5 Update 1をダウンロードします。
vSphere Clientが既にある場合は不要です。
ライセンスは後で使用するのでメモ必須です。
インストール
インストールはシステム要件に満たしておけば簡単です。
ダウンロードしたisoファイル(VMware-VMvisor-Installer-5.5.0.update01-1623387.x86_64.iso)をCD等に焼いてインストール処理を行います。
今回はVMware Playerで動かしてみます。
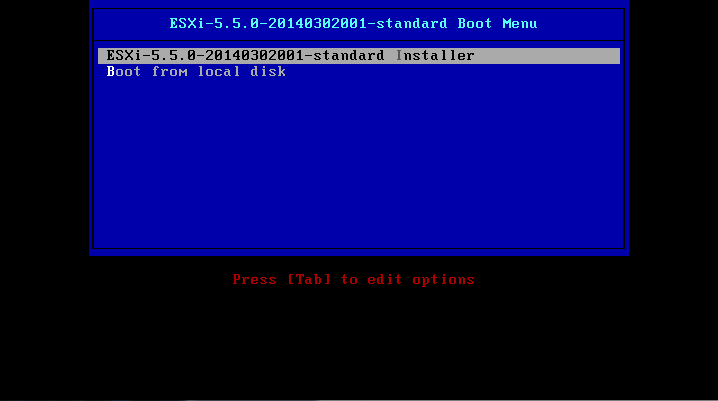
ESXi5.5.0-……に選択状態になっているのでそのままEnterを押します。
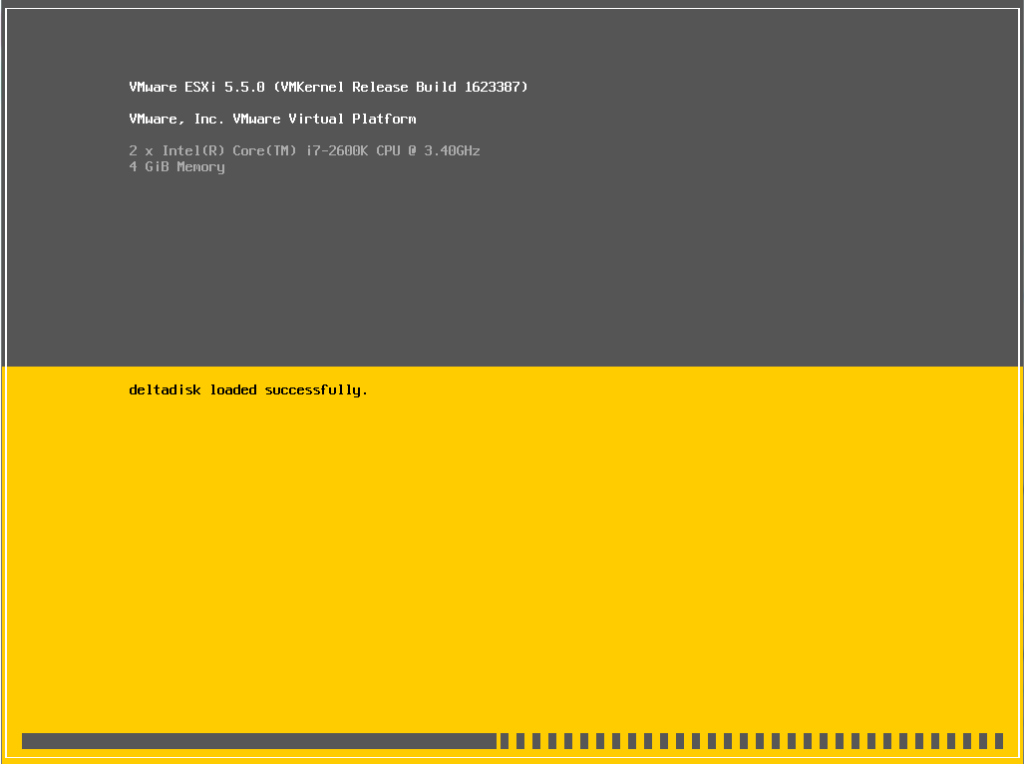
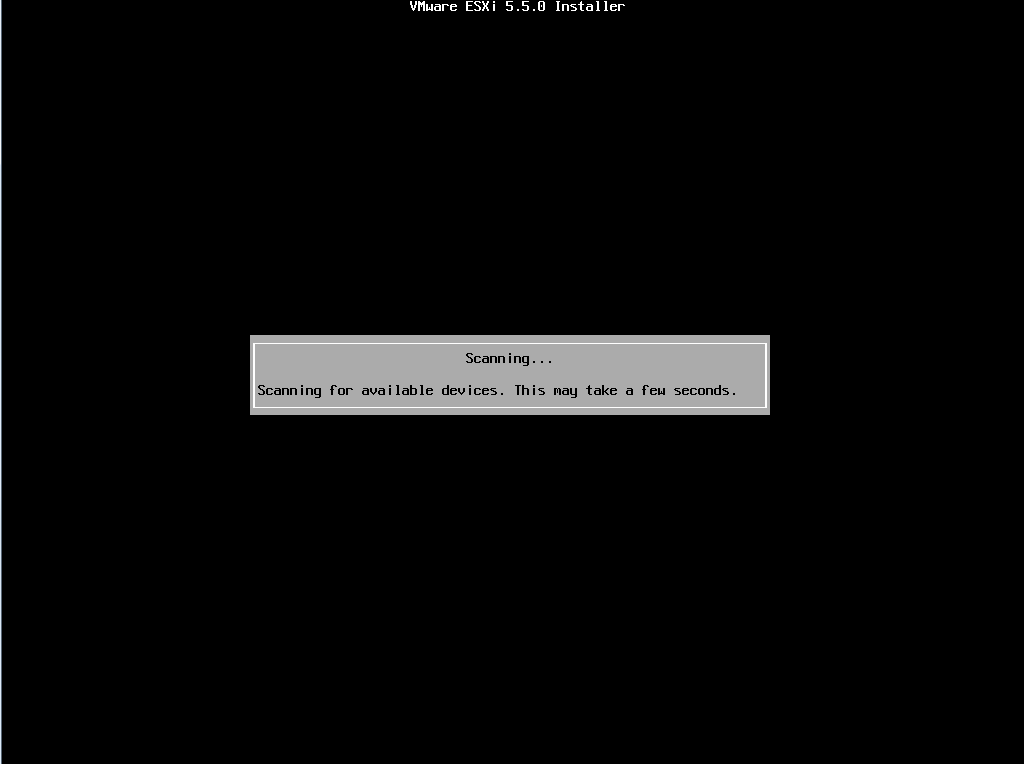
インストール処理が走ります。
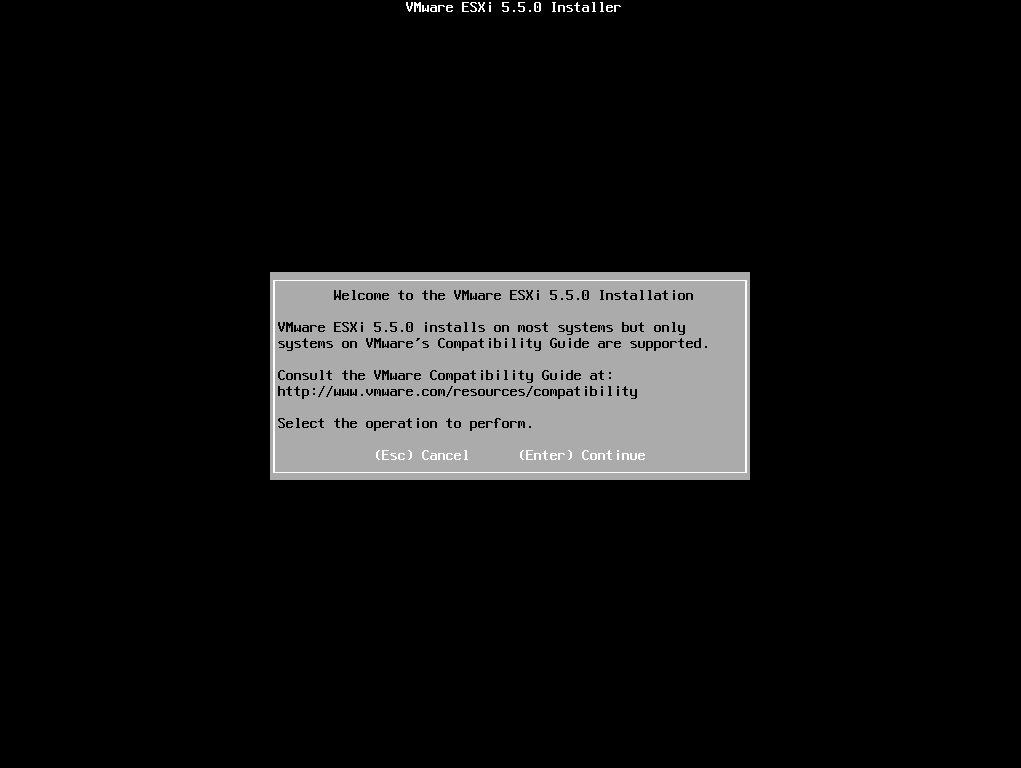
Enterを押します。
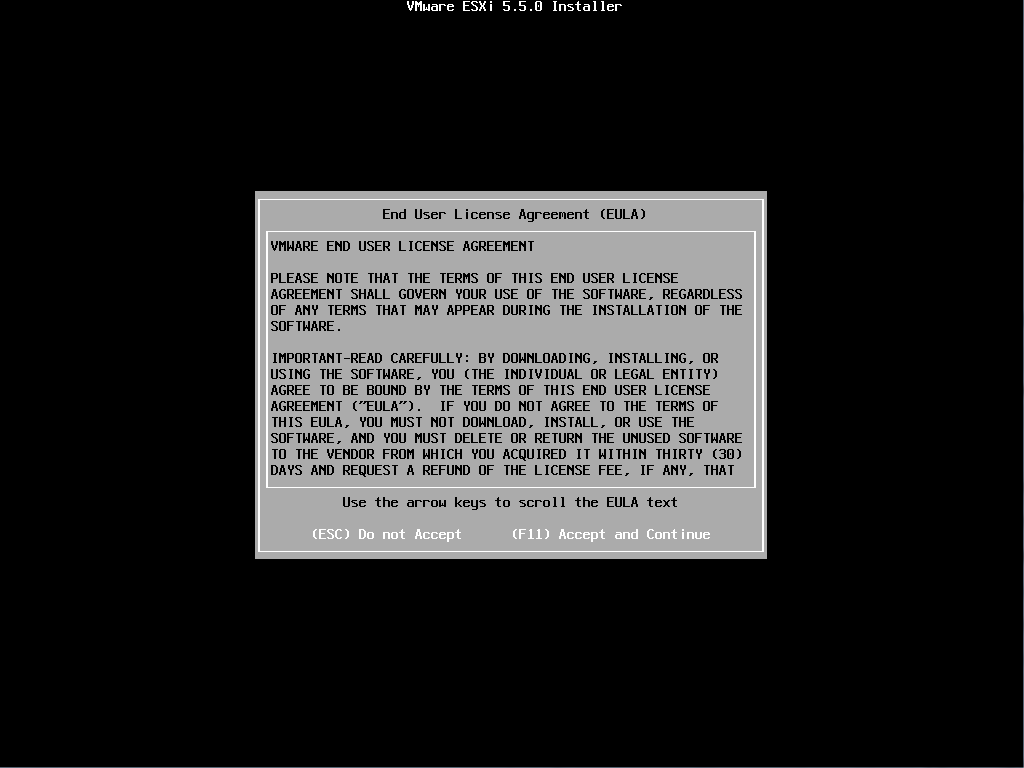
エンドユーザーライセンスについで記載されています。
↑↓でスクロールし、読み終わったらF11を押します。
記録ディスク(HDDやSSD)の検索を行います。
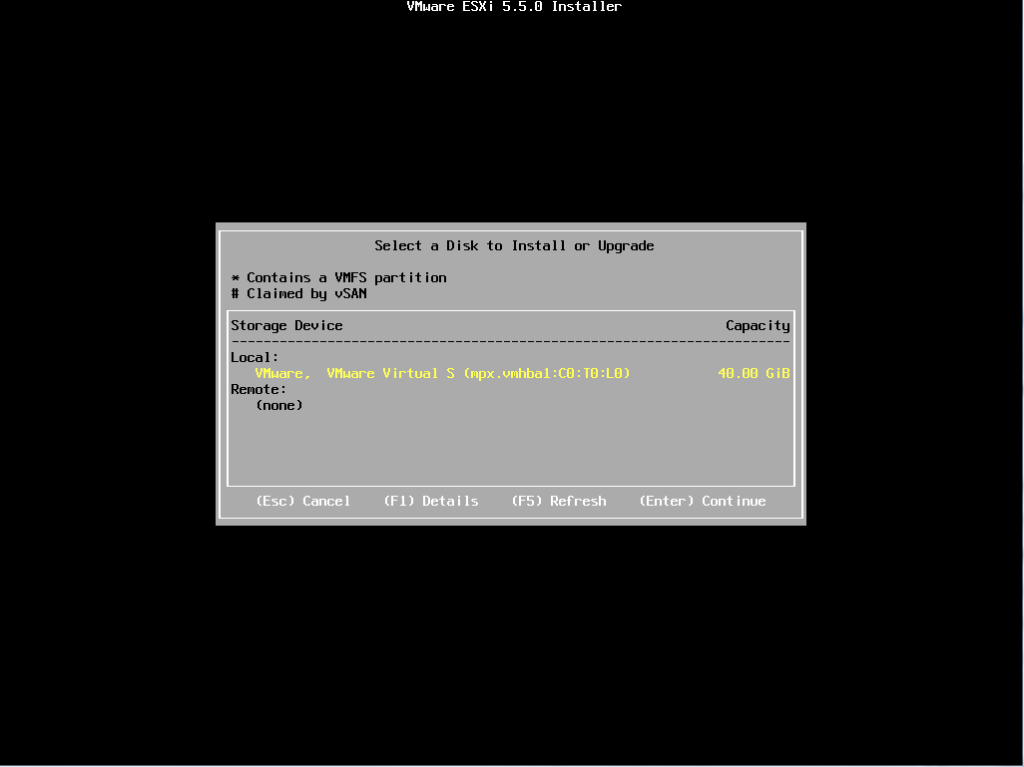
インストールするディスクを選択します。今回は一つしかないのでそのままEnter
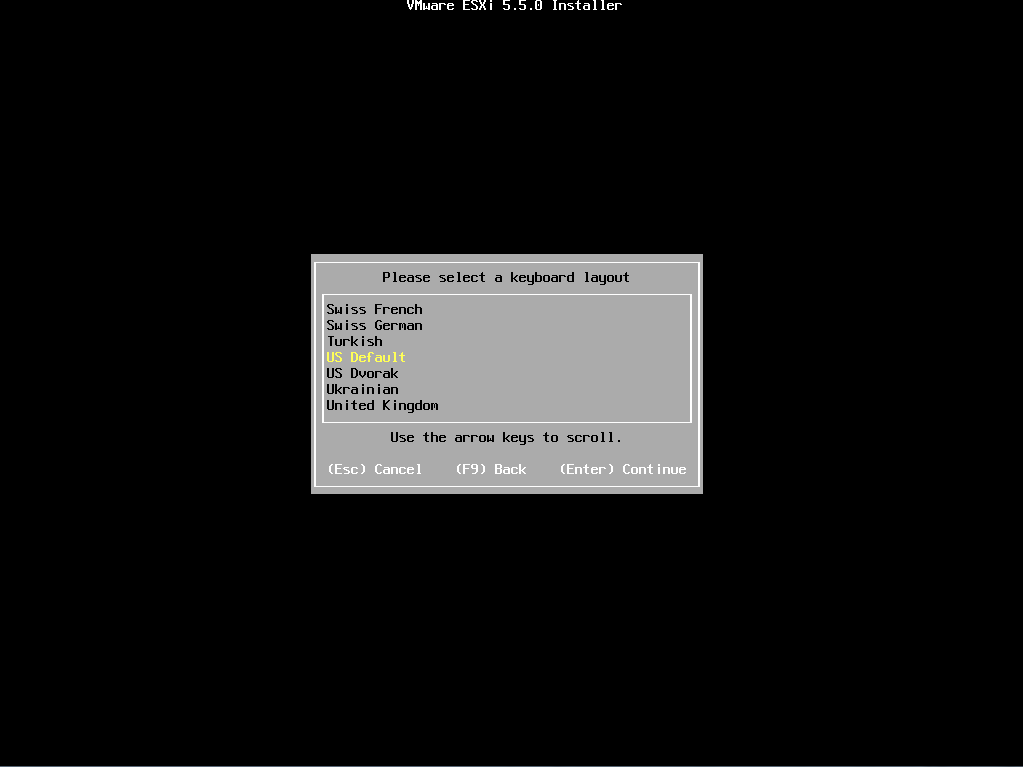
キーボードを選択します。
↑↓でJapaneseを選択してEnter
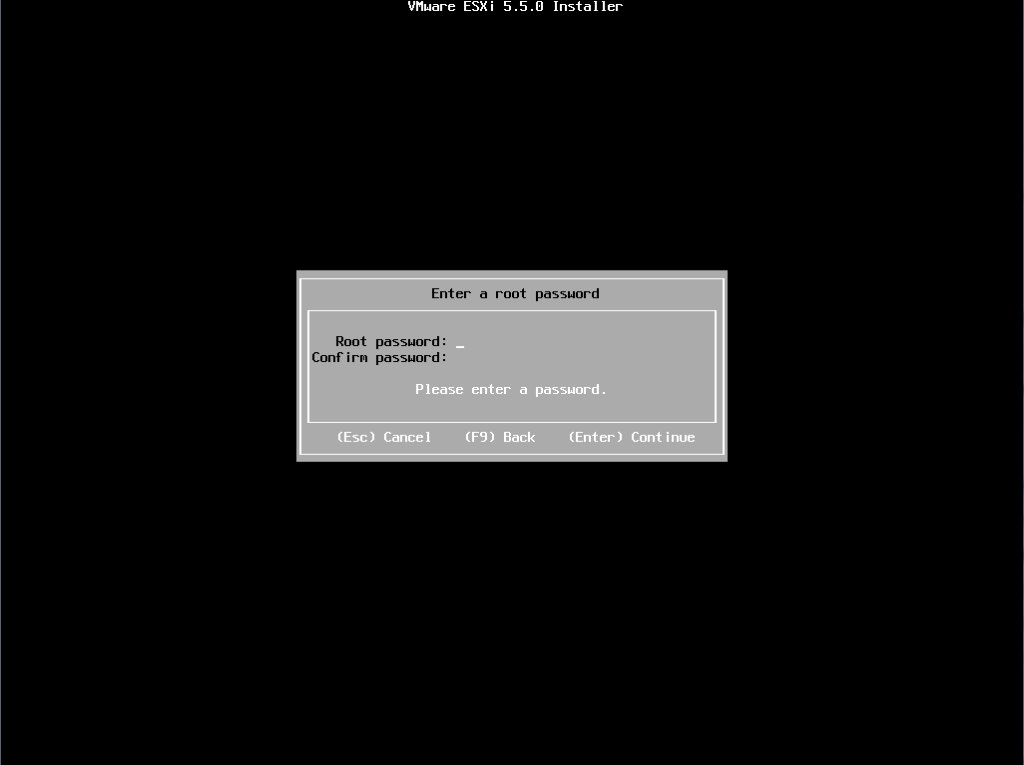
パスワードを入力します。
Tabキーを押すとConfirm passwordの入力に切り替えます。
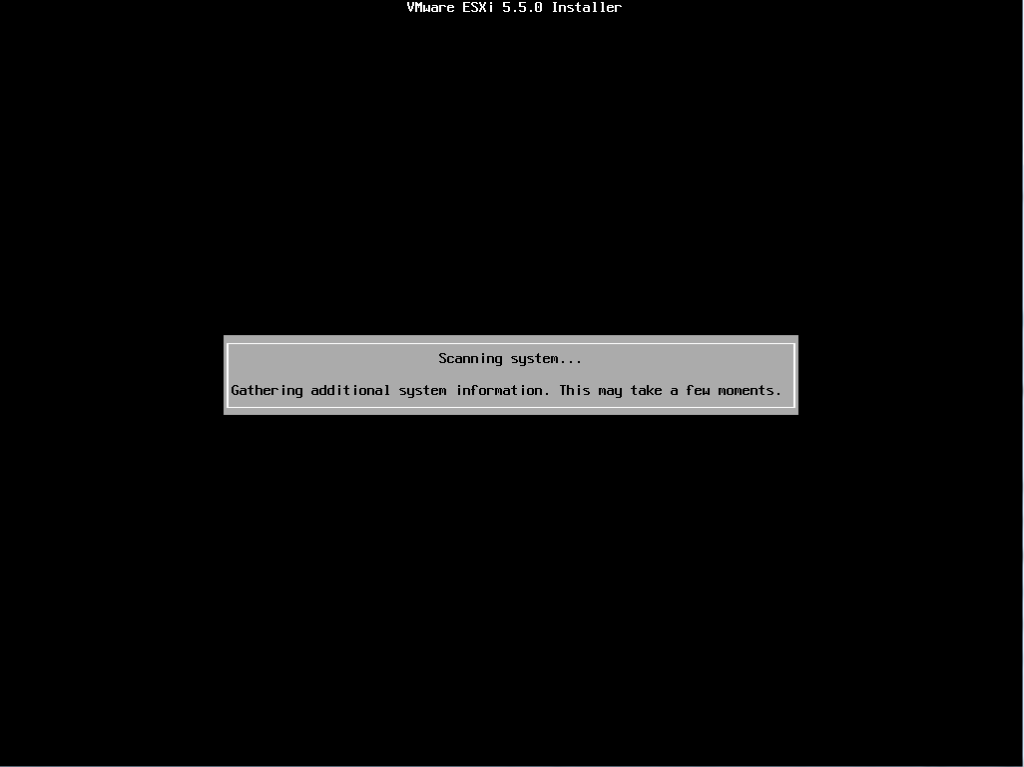
しばらく待ちます。
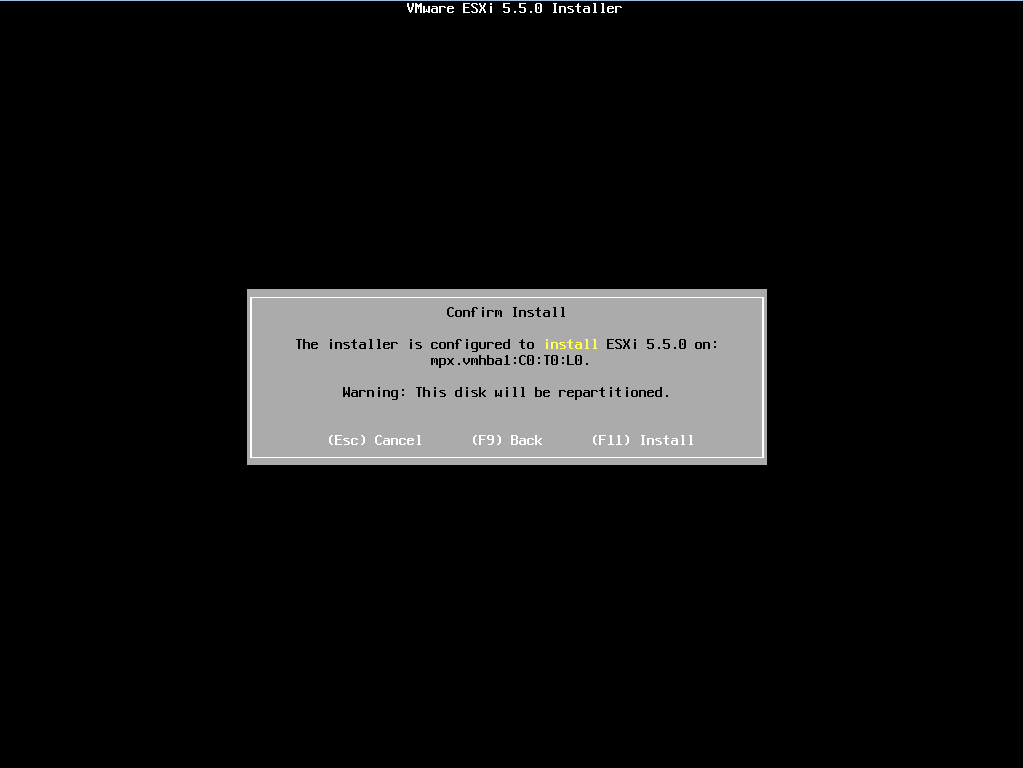
パーティション切りなおしますのでF11押してインストールします。
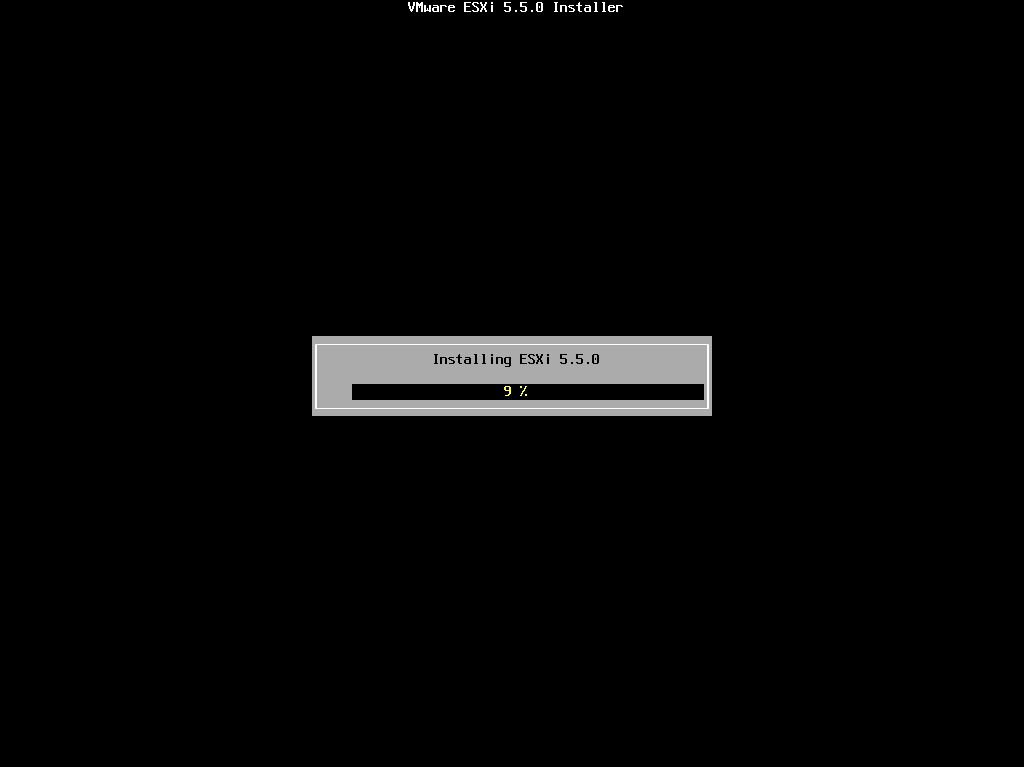
インストール中・・・
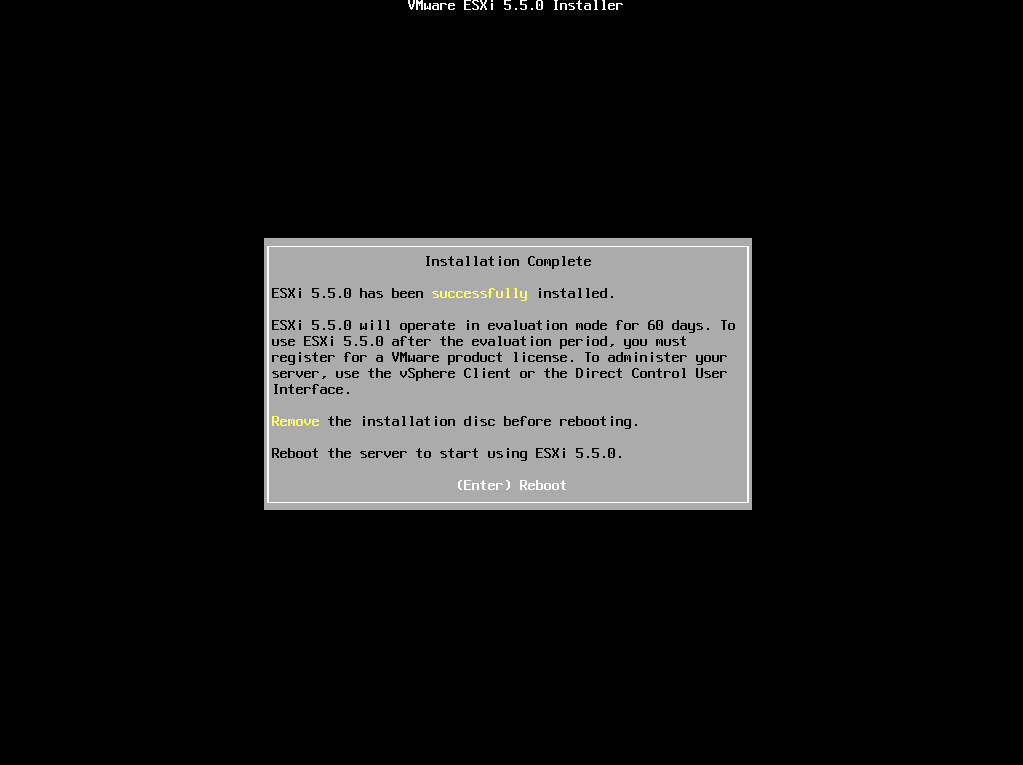
インストール完了。Enterで再起動します。
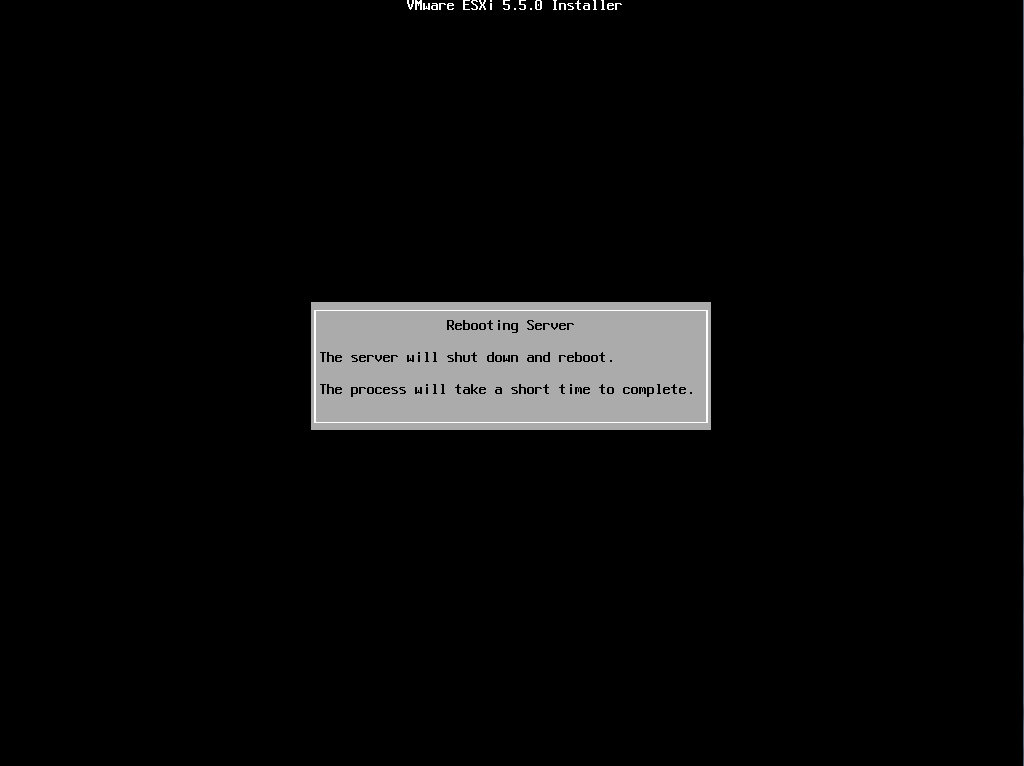
再起動中・・・
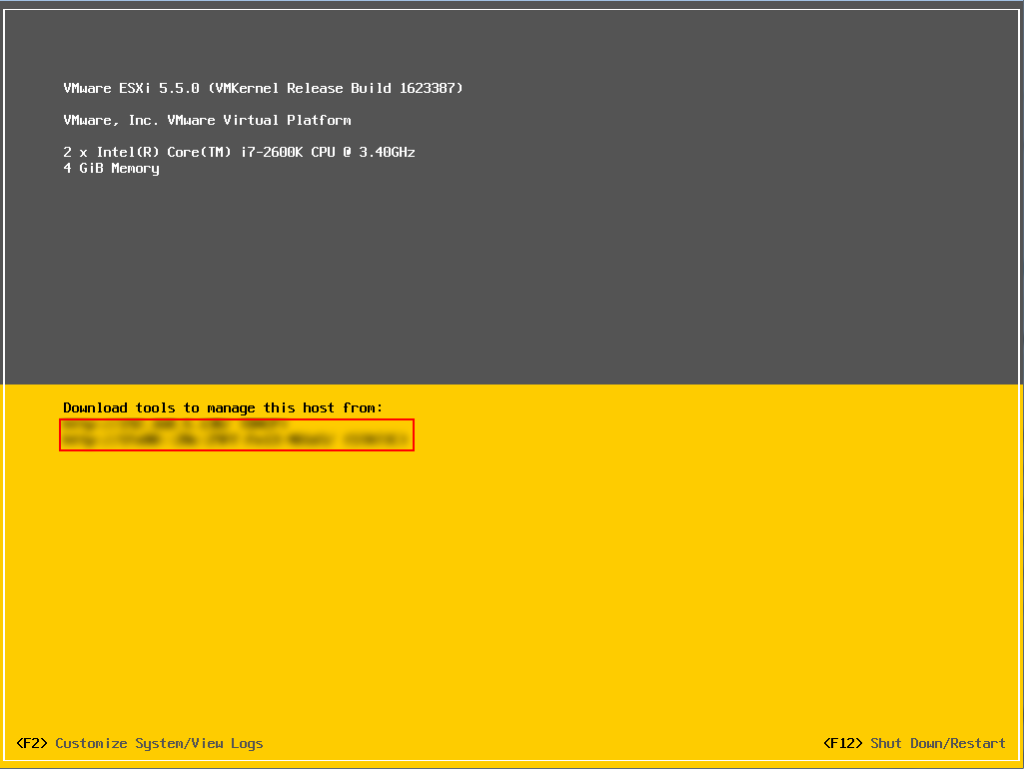
再起動完了
これでESXi側のインストールは終了です。
IPアドレスの変更
インストール後はIPアドレスはDHCPによる自動取得になっているのでIPアドレス固定します。
F2ボタンを押してログインします。
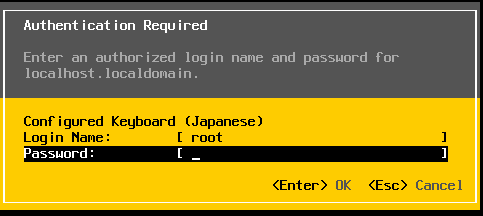
LoginNameはrootのままでOK
パスワードはサーバーインストール時に入力したパスワードを入力してEnter
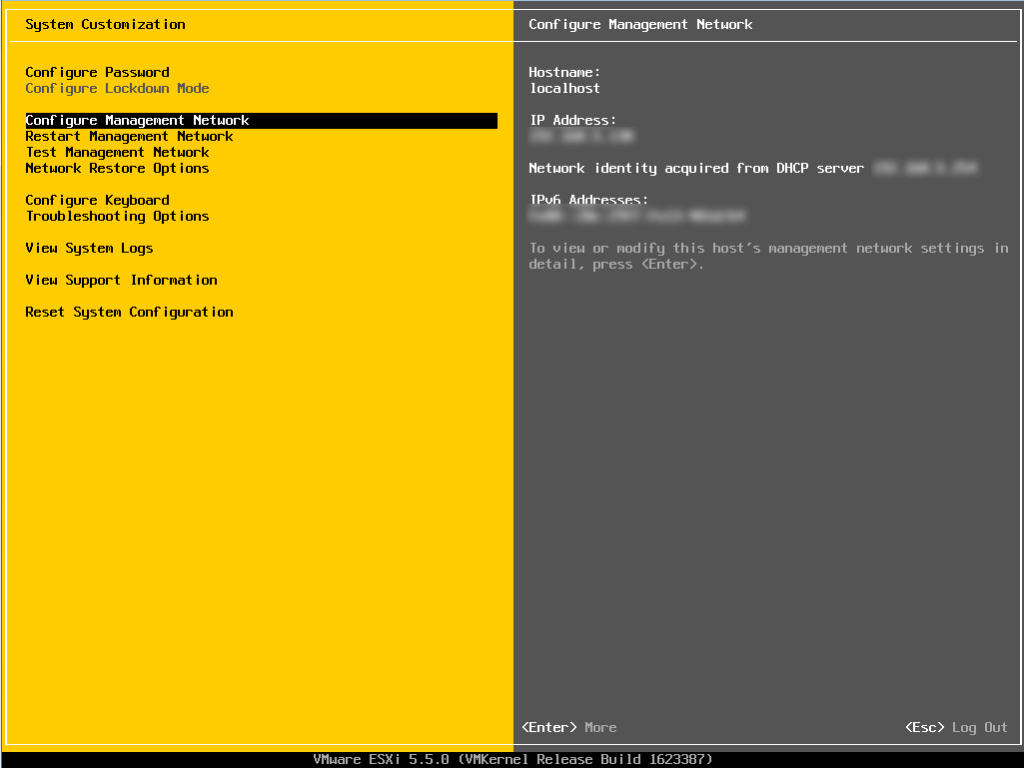
↑↓でConfigure Management Networkを選択し、Enter
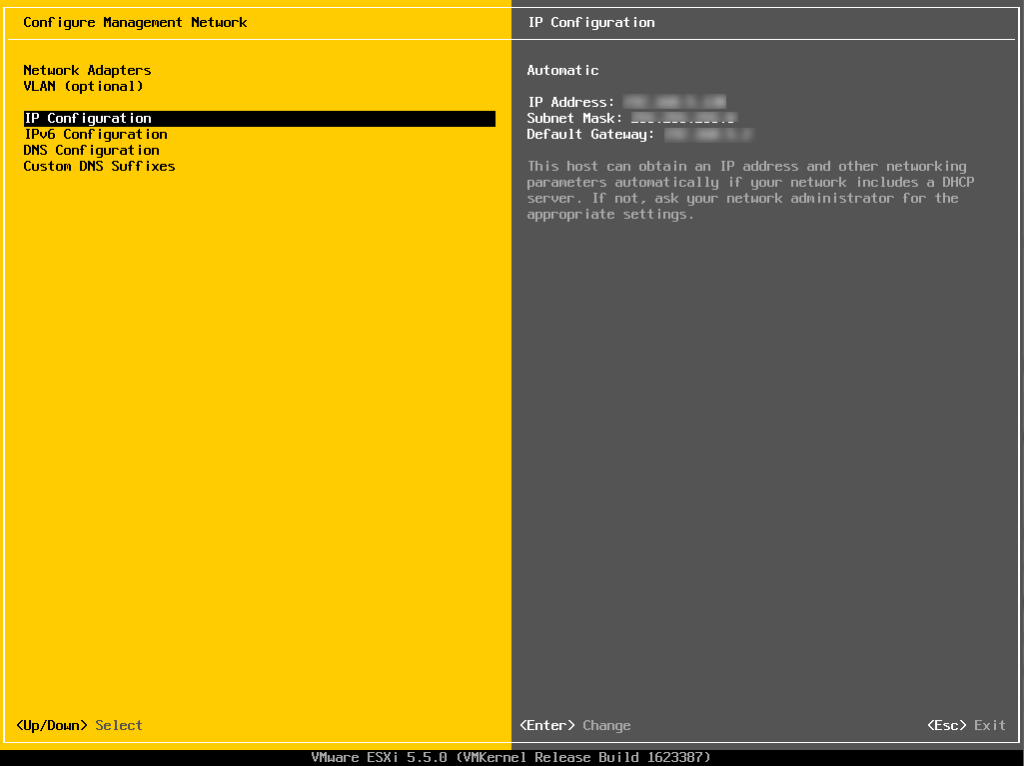
IP Congfigurationを選択し、Enter
Use dynamic IP address and network configurationが動的IPの設定になります。
Use static IP address and network configurationが静的IPの設定になります。
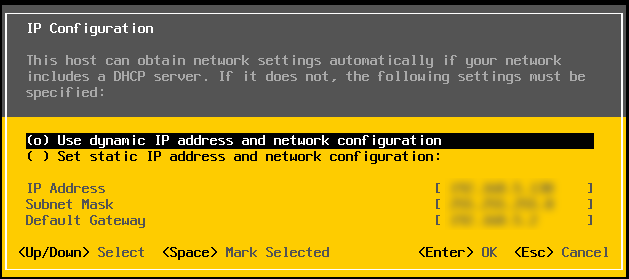
IPアドレス固定にしたいのでstaticを選択し、IPアドレスを変更します。
↑↓でUse static IP address and network configurationにカーソルを合わせてスペースで選択
そして↑↓でIP Address、Subnet Mask、Default Gatewayを設定します。
設定が終ればEnterで決定
設定された情報が正しければESCで保存
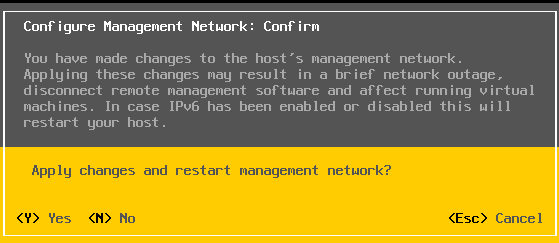
IPアドレス変えたのでYを押してネットワークの再起動をします。
IPアドレスが変更されていることを確認しESC
IPアドレスの設定は終了です。
vSphere Clientのインストール
ゲストOSの作成・起動やホストOS設定がGUIでできるようにvSphere Clientをインストールします。
ダウンロードしたVMware-viclient-all-5.5.0-1618071.exeをダブルクリックで起動します。
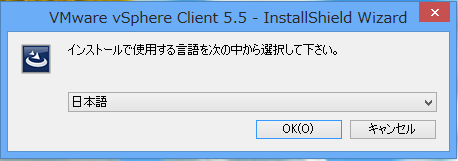
日本語を選択してOK
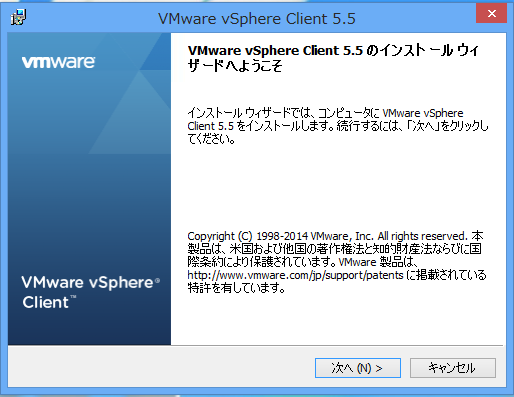
次へ
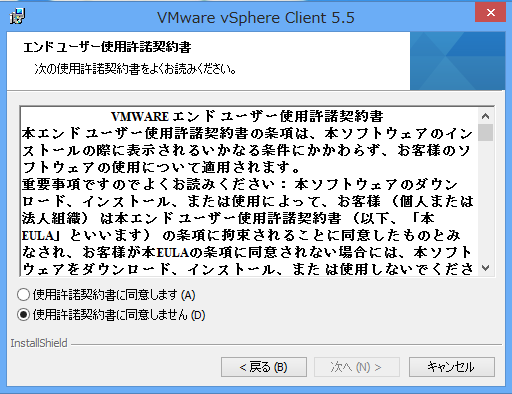
エンドユーザーの規約を読んで同意しますを選択して次へ
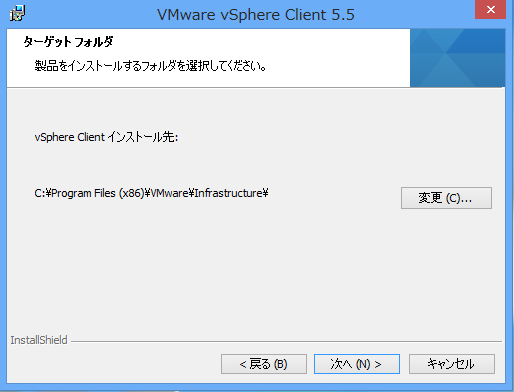
インストール先を選んで次へ

インストール
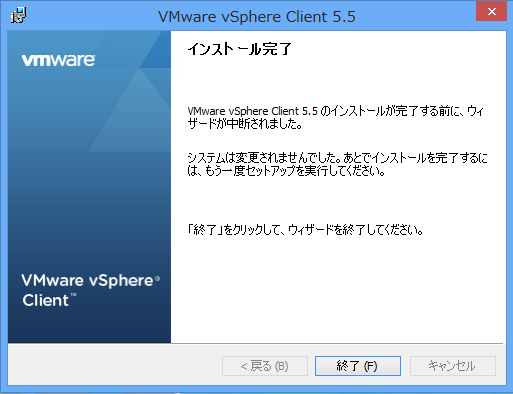
インストールボタン押すと強制終了したかのように画面が消え慌てましたがインストール作業は裏できちんと行っていました。
インストール完了
vSphere Clientの起動
↑のアイコンがデスクトップに現れますのでそれをダブルクリックするとログイン画面が出てきます。
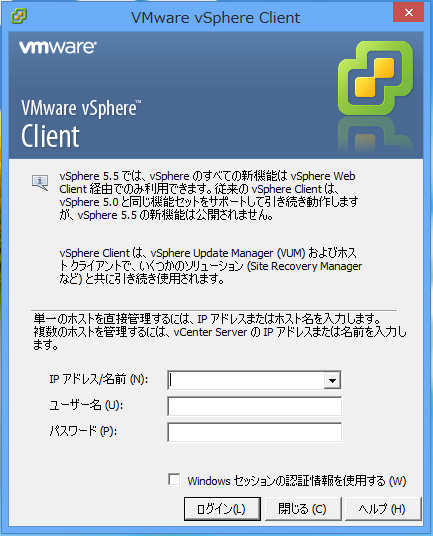
サーバーのIP、ユーザー名、パスワードを入力します。
IPアドレスはサーバーで出てる画面のIPアドレス
↑赤四角でかこってあるIPアドレスを打ち込みます。
ユーザー名はroot
パスワードはサーバーインストール時に入力したパスワードを打ち込みます。

ログイン成功すると↑のような画面が出ます。
ライセンスキーの登録
今のままだと60日後にESXiが使用できなくなるので、無償ライセンスを登録します。
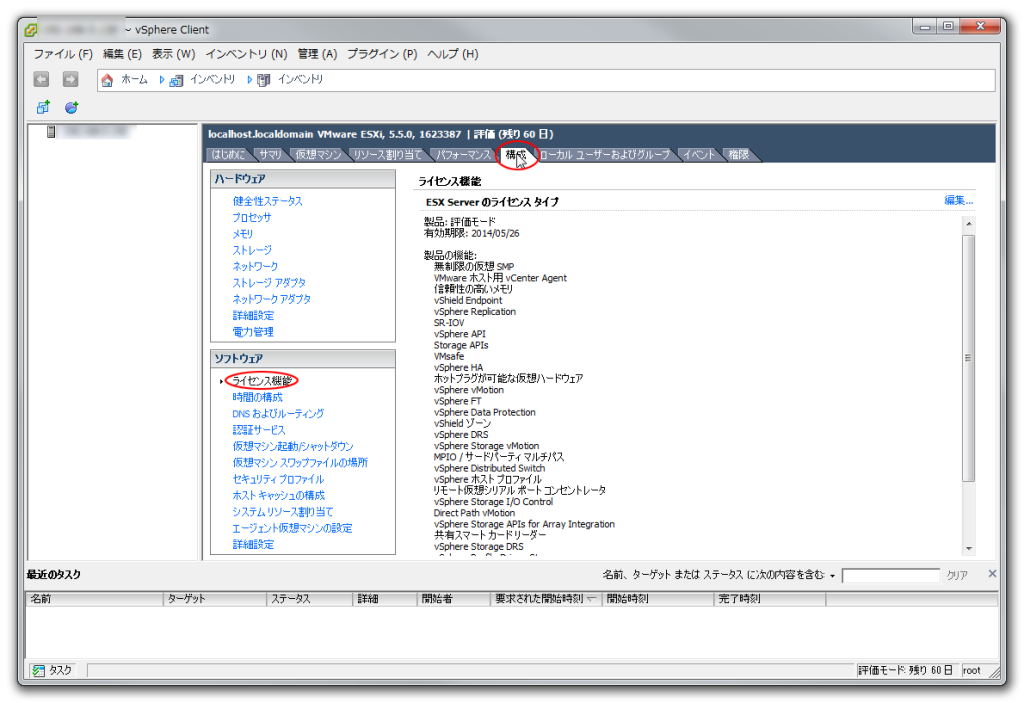
「構成」タブ⇒「ライセンス機能」の順にクリック
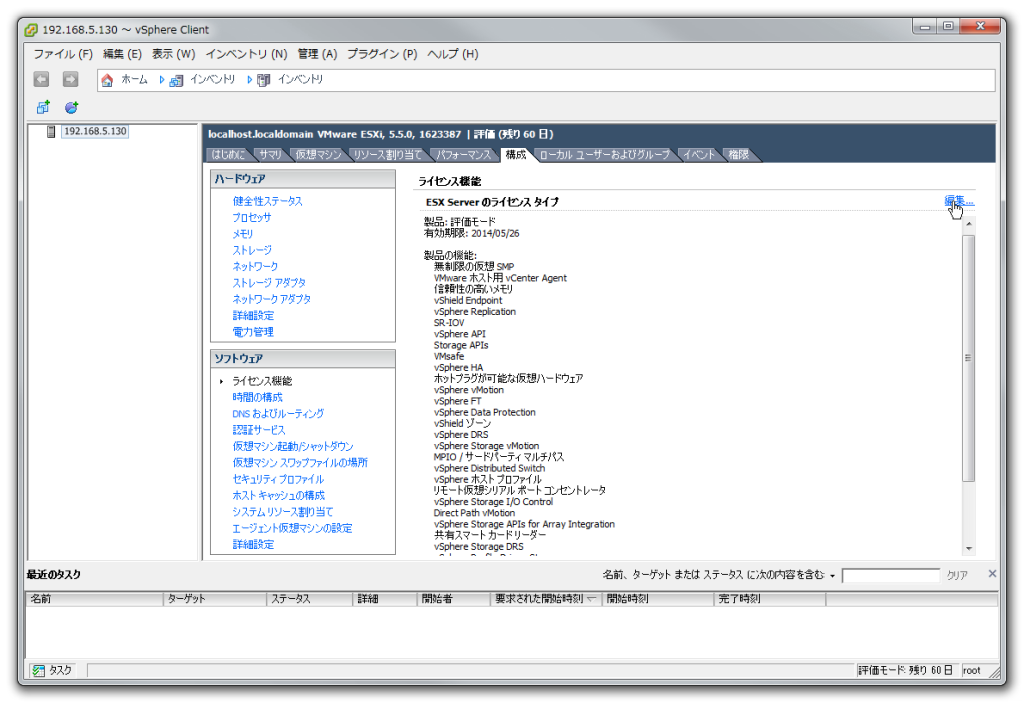
「編集」をクリック
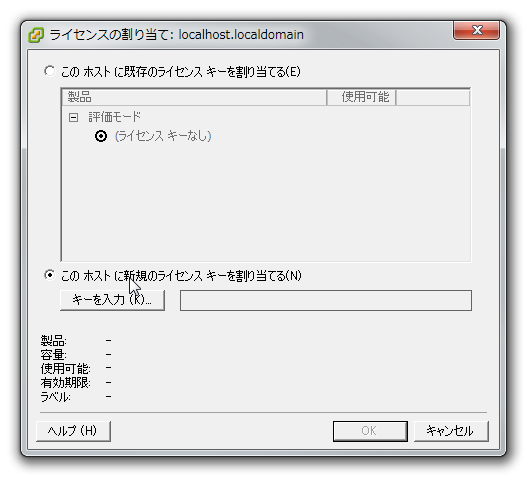
「このホストに新規のライセンスキーを割り当てる」を選択し「キーを入力」をクリック
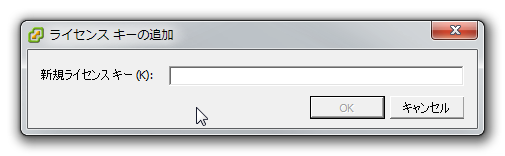
キーはESXiやvSphere ClientをダウンロードするWEB画面に出ていたライセンスキーを入力します。
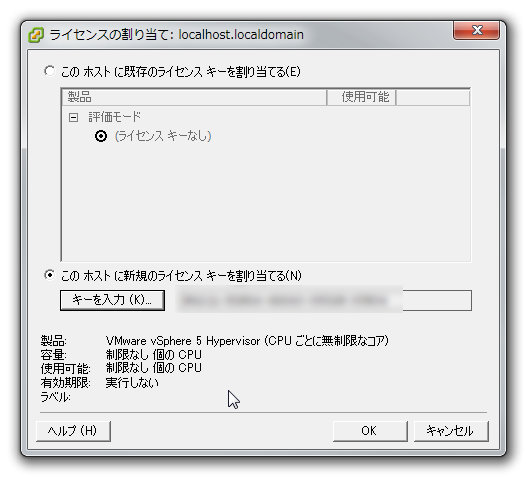
キーの入力すると容量や使用可能のCPU、有効期限の情報が表示されます。
ここを確認しOKを押します。
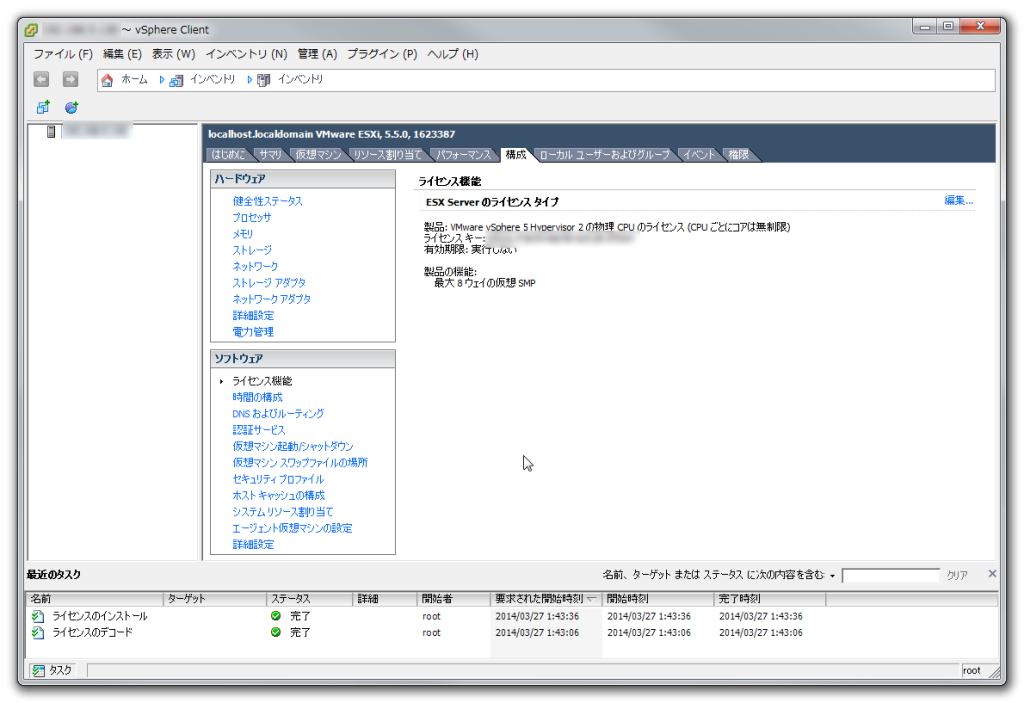
これで無期限にESXiが使えるようになりました。
雑感
今回はESXiのダウンロードからライセンス登録まで記述いたしました。
次はESXiの設定、ゲストの作成をしていきたいと思います。
であるvSphereをインストールしました。 有償版では個人だと手が出せないのと無償版でも十分に使うことができるため無償版(ESXi)を選択しました。 シ)